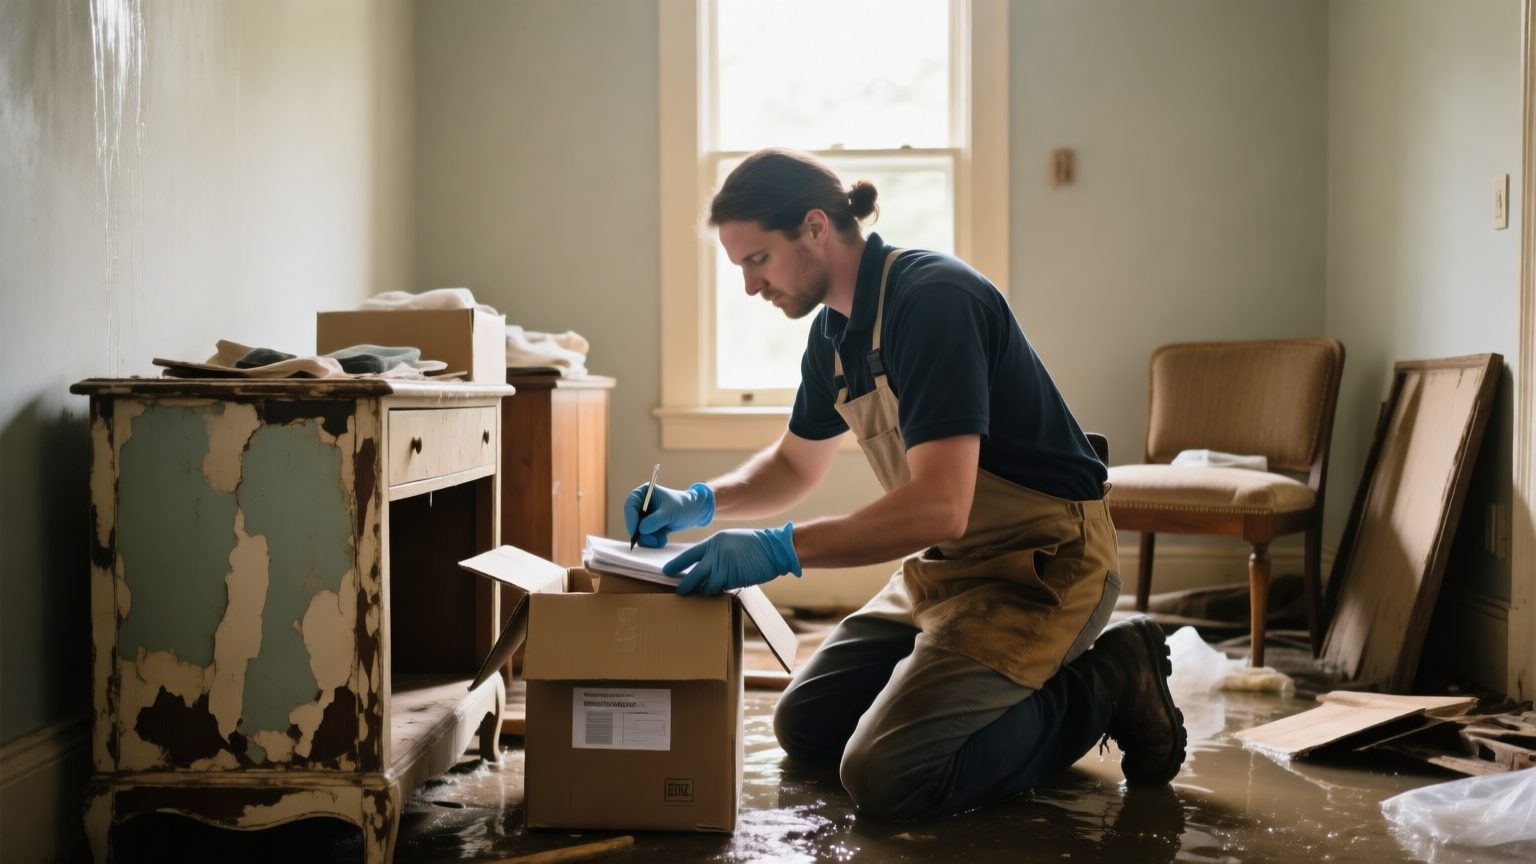
Why water losses need a room-by-room method
Water spreads, and that changes how you document it. A fire tends to concentrate damage; water migrates through floors, walls, and cabinets, damaging items in rooms far from the source and hiding damage inside things that look fine on the surface. A room-by-room method is how you make sure nothing gets missed, because the biggest documentation error on a water claim is omission, not overvaluation.
Working one room at a time also keeps the inventory organized in a way a carrier can follow. When the list is grouped by room and each item ties to a photo of that room, the reviewer can trace every line back to where it sat, which is what makes the claim easy to accept. The same discipline that governs a fire documentation walkthrough applies here, adapted for how water actually travels.
Before you move or discard anything
The first rule of a water loss is to document before you disturb. Do not throw out soaked items until they are photographed and, where your carrier requires it, approved for disposal. A discarded item with no record is a line you cannot support later.
It also helps to note the category of water involved, because it affects what can be salvaged. Restoration professionals classify water as clean, gray, or black depending on its source and contamination, and that classification often decides whether an item is restorable or belongs on a non-restorable list. You do not need to make that call as a homeowner, but recording what you observed, the source, how far it spread, and how long items sat wet, gives the professionals and the adjuster the context they need.
The room-by-room walkthrough
Move through the property systematically, one space at a time, including closets, cabinets, and storage areas where water pools out of sight. In each room, capture both the structure and the contents so the two tell a consistent story.
| In each room, document | Why it matters |
|---|---|
| Overall water line and spread | Establishes how far the loss reached in that space |
| Floors, baseboards, and lower walls | Shows the path and depth of the water |
| Cabinets, closets, and storage | Where hidden and forgotten contents sit |
| Each damaged item, individually | Builds the item-level contents inventory |
Consumer guidance from the Insurance Information Institute on settling claims after a disaster stresses the same point: the more detail you capture per space and per item, the faster the claim settles. The NAIC's overview of navigating the claims process similarly puts thorough documentation at the center of a clean recovery.
What to record for each item
Inside each room, every damaged item becomes a line in the inventory. A defensible line answers what it is, how old it is, and what it costs to replace, with evidence attached.
- Description, brand, and model. Be specific. "Queen upholstered platform bed frame" prices accurately; "bed" does not.
- Age and condition before the loss. These drive depreciation and the actual cash value figure.
- Quantity. Count sets and multiples so nothing is undercounted.
- Photos tied to the item. Capture the item and its damage so the picture matches the line.
- Replacement cost and source. Record the current price and the retailer it came from, so the value is checkable.
Photographs should correspond to the inventory whenever practical, and a short video walkthrough of each room adds useful context. Having a pre-loss home inventory makes all of this faster, but most people reconstruct the list after the fact, which is exactly where careful, item-level documentation pays off.
Build the non-restorable list carefully
Water losses split contents into three groups: items that are fine, items that can be cleaned and restored, and items that are a total loss. That last group, the non-restorable list, is where much of the claim value sits, and it is also where carriers look hardest. An item belongs on it when restoration is not possible or not cost-effective, and the reason should be recorded alongside the item, not assumed. Soaked upholstered furniture, saturated mattresses, wet electronics, and porous items exposed to contaminated water commonly land here, but the justification still needs to travel with each line.
Keep the non-restorable items documented and, where possible, do not dispose of them until the adjuster has seen them or approved disposal. A total-loss line with a photo, a description, and a clear reason for non-restorability is defensible. The same line with no evidence is an easy target to remove, and on a water claim the non-restorable list is often the difference between a full settlement and a partial one.
Record both replacement cost and actual cash value
Each water-damaged item carries two values worth documenting: the replacement cost value, which is the new-today price, and the actual cash value, which subtracts depreciation. Many policies pay the actual cash value first and release the rest after replacement, so both numbers need support on every line. If the two terms are unfamiliar, RCV vs ACV on a contents claim lays them out side by side, and what replacement cost value means covers the figure each line is built on.
How ContentsIQ helps on a water claim
The slow part of a water loss is the same as any contents claim: turning a room full of damaged belongings into described, priced, sourced line items. ContentsIQ takes the photos and item lists from each room and generates structured descriptions with replacement cost values and the retailer evidence behind them, then routes the draft to your team's review queue so a person signs off before anything is final. It assists with identification, valuation, and documentation; it does not replace professional judgment and it is not a public adjuster. More guides are on the ContentsIQ blog, you can review how ContentsIQ handles security before uploading claim files, and you can talk to ContentsIQ about your workflow. This article is informational and not legal or insurance advice.